

We live in a pretty cool time as guitar players. The amount of gear, boutique or otherwise, is at an all-time high. The downside to that is that there are so many options and variations on basic themes that it can be overwhelming. Gear forums can be helpful, but they can also make you go broke and cause severe GAS (Gear Acquisition Syndrome). So step away from the Buy-It-Now button and let me talk you through some basic concepts on pedals and how, in my opinion, the best way to get the most sonic benefits. Your mileage may vary.
I must, however, state three disclaimers.
1) NOTHING you buy will replace practicing time on the instrument. Your tone is in hands, so work on that and you will solve most problems…like 90% of them.
2) You do not need to buy the most expensive pedal available. There are many fantastic affordable options.
3) See #1.
In this article, I’m only going to cover the basic effect food groups as I see them (there are too many cool noisemakers out there for me to discuss in their entirely).
Here are the three basic groups for a classic guitar sound:
1) Boosts, overdrives, distortions, and fuzzes
2) Modulation effects such as chorus, phase, tremolo (actually a volume effect), flangers, and univibes (or anything that makes a swishy or worbly sound)
3) Ambient effects like reverb and delay
To start with, let’s talk about running a chain of pedals into a clean amplifier. So I’ve put together how I would run my basic board that I’d bring to gigs and rehearsals. In those situations, I am always assuming I will be playing into a clean amp. This will maximize my amount of control I will have over my sound.
Tuner > Modulation > Boost > Overdrive > Delay > Reverb
This is a simple setup that you will find most pro players using as it can cover a lot of ground. I will change out one or two pedals, or add, depending on the gig.
I usually put the tuner first in line. There are some great mini tuners on the market that are easy to use and very accurate. Invest in one, because if you are out of tune, nobody will notice how great your tone is!
Let’s talk about the overdrive (OD)/distortion position first. In this situation, I use the pedal as basically an amp in a box. It’s designed to emulate the sound of a tube amp, where we turn it up to the point where we overdrive the tubes into distorting (hence the name). Depending on the gig or kind of music you play you may keep it on all the time.
A boost can be placed in two spots, both serving a different function. I like to put it before the OD; this is the classic spot for something like a Tube Screamer. Here I would usually set the volume pretty high to boost the signal going into the OD pedal. This will give me somewhat of a volume boost, but more importantly, it will increase the gain and sustain. If I put the boost at the very end of the chain, it will boost just the volume. If you are going to do that, make sure the pedal is only a clean boost. You could always do both.
I like the sound of modulation before overdrive. The perfect example of this is Van Halen using the flanger before his distorted amplifier on “Unchained”. Jimi Hendrix’ classic Uni-Vibe tones are derived the same way. I prefer that sound. You can also place the modulation effect after your overdrive pedal; this will make it more pronounced. For example, if you want a classic 80’s sound, you would want to place your chorus after your overdrive. Experiment for what suits your own tastes.
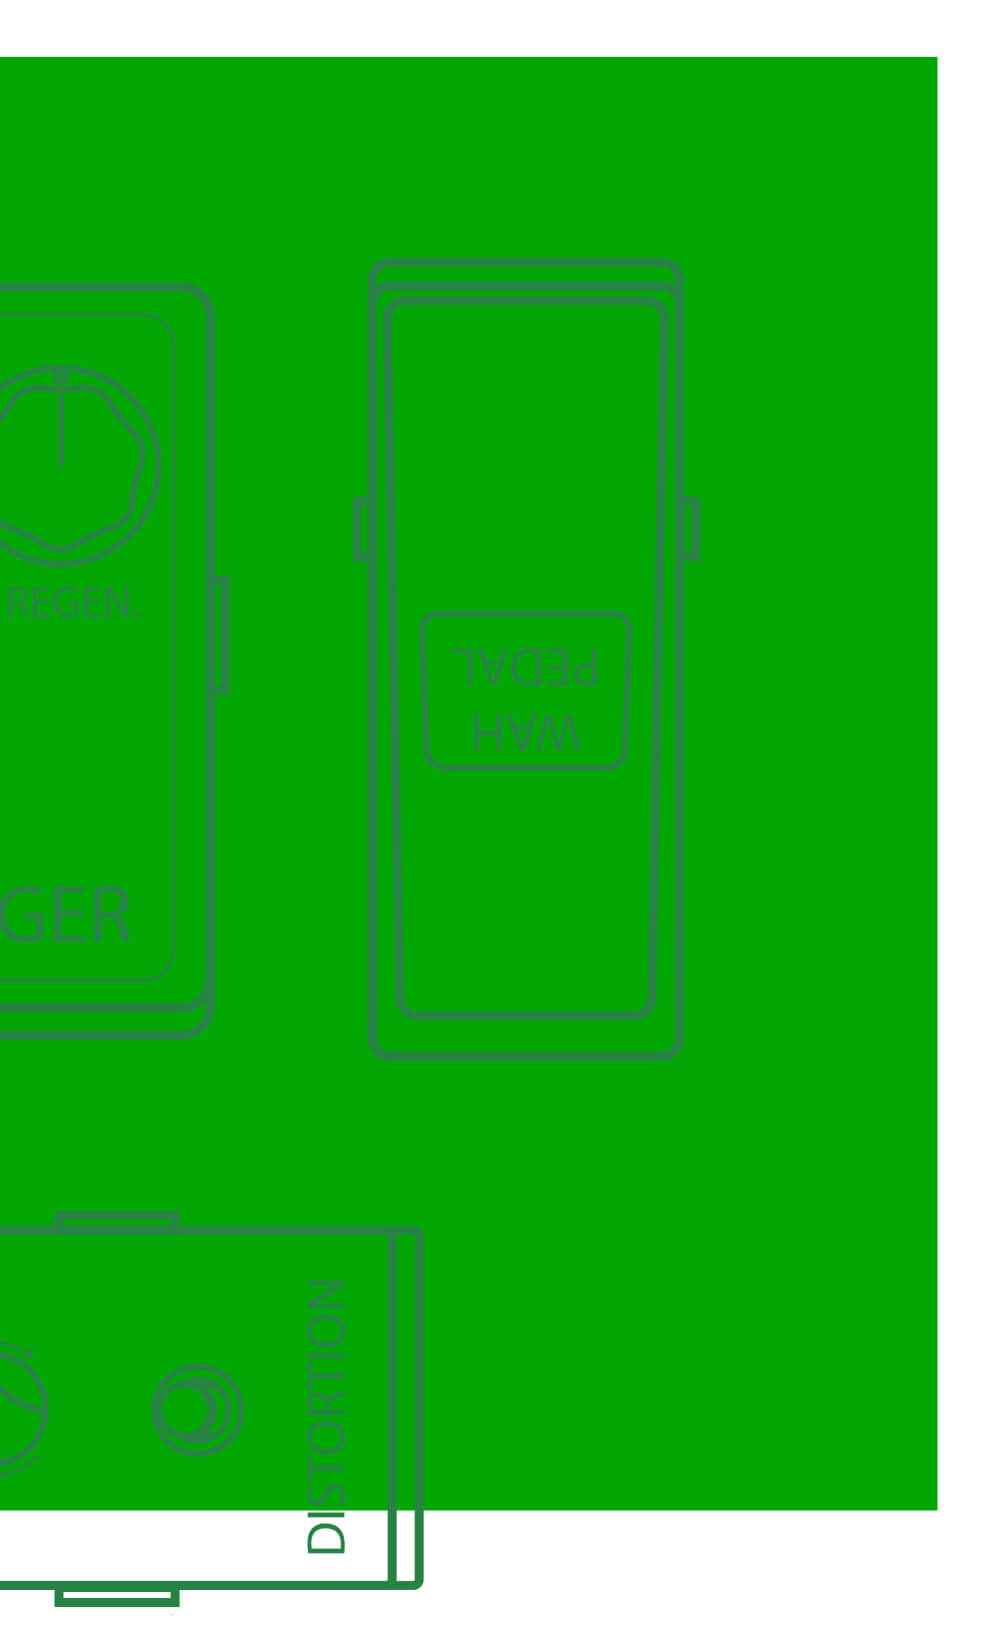
Last in the chain are the ambient effects like delay and reverb. At the end, these effects function as they would if you had reverb in your amp. I suggest placing the reverb last (unless you are using a boost at the end of the chain) and delay before it. You can experiment with ambient effects before overdrive or distortion, but they can sound splashy and harsh, post-OD is smoother and more pleasant to my ears. Once again, that is a taste issue. Van Halen ran his delay into an overdriven amp, it’s a cool sound, but it can limit how much delay you can use.
Fuzzes are tricky beasts, but I love them. They can be very picky about where you place them, especially if the fuzz is germanium-based. If you have a pedal with a buffer in it, put the fuzz before it. Fuzzes don’t react well to buffers.
True Bypass (Non-Buffered) vs Buffered Pedals
There is a lot of buzz about all of this and which one is better. Well once again, there is no definitive answer. But I like a buffer in my signal chain somewhere. A guitar pickup output is a low impedance signal, and cables add capacitance. The more non-buffered pedals and cable you are using, the more capacitance you add. This loads down your signal causing it to degrade. Whaaa? Simply put, the more cable and true bypass pedals you use in your chain, the more your tone degrades. Try this, take the shortest cable you own and plug directly into your amp. Then plug in the longest cable you have into your amp. Do you hear a difference? Most likely your tone will be brighter and stronger with the short cable…don’t hear a difference? Good for you, don’t worry about it! 😉
A buffer changes a guitar signal to high impedance, which restores your signal level and clarity. But they do change your tone somewhat, higher quality buffers usually sound better. Once again, it’s up to you. Hendrix didn’t have any buffers. David Gilmour’s rig has buffers. Not sure if your pedal it true bypass or not? Remove the battery or unplug it, step on the pedal a few times, if you hear no sound when in both positions, it is a buffered pedal. If there is no sound in one position, it is true bypass.
FX Loops
Many amps have effects loops in them. So how do we use one properly and which effects work in the loop? That’s a fairly easy question to answer. Think of your amp as the overdrive in the signal chain on my pedal board. It works exactly the same way. Ambient effects go in the loop, modulation is up to you. I don’t recommend overdrives or distortions in the loop. But, you can put a clean boost in there for a volume boost.
As we can see there are no absolutes here, just what sounds right to you. I have simply laid out what sounds best to me, as well as the groundwork to understand context and relationship. The main thing I can say is if it sounds good to you, then it is good!
To illustrate some of the key concepts discussed in this article, I’ve included the following 4 chain and settings diagrams, along with some demonstration videos, from my Guitar Effects Survival Guide. As you experiment with your own chains and settings, and then find combinations that work for you — log and save those so you can re-create whenever you need to.